
Your cart is currently empty!
DIY Medieval Tapestries: Turn Your Walls Into a Masterpiece
•
We love the idea of creating our own unique pieces of art, and what’s more unique than a diy medieval tapestry? These fabric wall hangings have been used for centuries to add a touch of elegance to castles and churches, and now we can make our own to decorate our homes. With the ability to customize the design and materials, we can create a one-of-a-kind piece that reflects our personal style.
Imagine having a beautiful medieval-inspired tapestry hanging in your living room, made with your own hands – it’s a great way to add some personality to your space. We can use different materials like wool, silk, or cotton to create our own tapestries, and with the help of some basic stitching techniques, we can make our own medieval-style tapestries. So, let’s get started on this creative journey and make our own diy medieval tapestries!
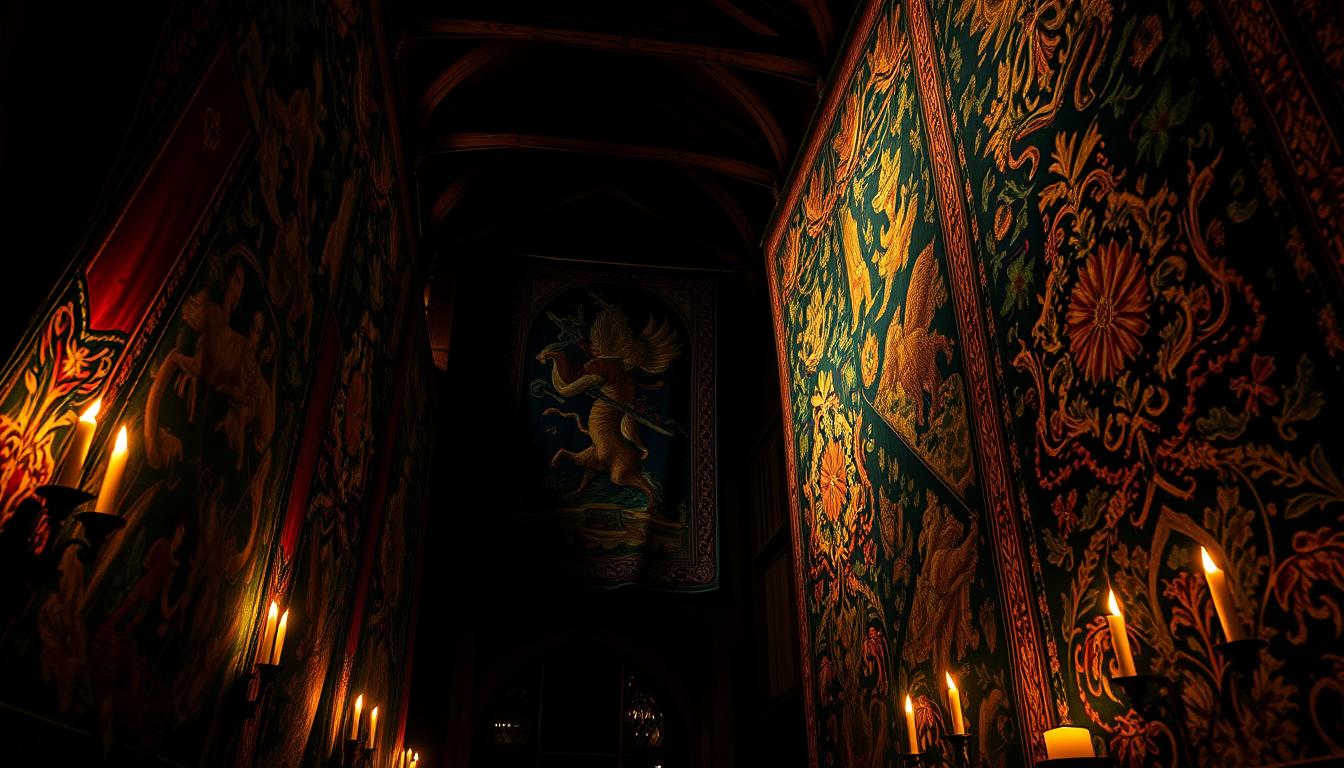
From the famous Lady and the Unicorn Tapestries to the intricate designs found in European castles and churches, tapestries have a rich history. We can draw inspiration from these historical pieces and create our own fabric wall hangings that reflect our love for medieval art. With the rise of online marketplaces like Etsy, we can even sell our own handmade tapestries and connect with other crafty people who share our passion for make your own tapestries.
The Rich Heritage of Medieval Tapestries
We are fascinated by the history of medieval tapestries, which were once a staple of royal decor. These intricate pieces of fabric art were not only beautiful but also told stories of medieval life, making them a great inspiration for medieval tapestry diy projects. The famous Bayeux Tapestry, for example, is a masterpiece of medieval art that showcases the events leading up to the Norman Conquest of England.
Medieval tapestries were made from natural materials such as cotton, linen, and wool, which were woven together using techniques like slit-weft weaving. The resulting fabric was then embroidered with intricate designs, often depicting scenes of hunting, floral life, and mythical creatures. For those interested in creating their own medieval-inspired tapestries, there are many fabric art tutorials available online that can provide guidance on techniques and materials.
Tapestries were not only used for decoration but also played a significant role in medieval society. They were used to convey messages, tell stories, and even to display wealth and status. Today, we can still appreciate the beauty and craftsmanship of medieval tapestries, and even create our own using traditional techniques and materials. Whether you’re a seasoned artist or a beginner, medieval tapestry diy projects can be a fun and rewarding way to connect with the past and express your creativity.
Essential Materials for Creating Your Medieval Tapestry
We’re excited to dive into the world of medieval tapestries, and one of the most crucial aspects is the materials used to create these stunning pieces of handwoven wall decor. When it comes to textile crafts, the choice of fabric and thread can make all the difference in the final product.
Historically, wool has been the predominant material used for the warp in tapestry making due to its availability, workability, and durability. The weft threads, commonly made of wool, are often combined with linen, silk, or cotton to enhance color variety and texture. In 18th-century European tapestries, silk was increasingly utilized, particularly at the Beauvais factory in France, to achieve subtle tonal effects.
Some of the key materials used in medieval tapestry creation include:
- Wool for warp and weft threads
- Linen, silk, or cotton for added texture and color
- Gold and silver threads for a sumptuous effect
These materials, combined with traditional weaving techniques, result in unique and intricate pieces of handwoven wall decor that showcase the beauty of textile crafts. Whether you’re a seasoned artist or a beginner, understanding the essential materials and techniques used in medieval tapestry creation can help you create your own stunning pieces of art.

Choosing the Right Fabric and Thread Combinations
When it comes to creating a medieval tapestry diy, the choice of fabric and thread combinations is crucial. We’ve found that the right blend of materials can make all the difference in the overall look and feel of your fabric wall hangings. For instance, using a combination of linen, wool, and cotton can create a unique and beautiful design.
A key consideration is the weight and texture of the fabric. Heavier fabrics like wool and linen are ideal for creating intricate designs, while lighter fabrics like cotton are better suited for simpler patterns. The type of thread used is also important, with options like silk, wool, and cotton offering different textures and colors.
Some popular fabric and thread combinations for medieval tapestry diy include:
- Linen and wool for a rustic, textured look
- Cotton and silk for a softer, more delicate appearance
- Wool and cotton for a durable, versatile fabric
Ultimately, the choice of fabric and thread combinations will depend on your personal preference and the desired look of your medieval tapestry diy. By experimenting with different materials and techniques, you can create a unique and beautiful fabric wall hanging that reflects your style and creativity.

Basic Stitching Techniques for Medieval-Style Tapestries
We’re excited to share with you the basic stitching techniques used to create medieval-style tapestries. These techniques are essential for anyone looking to create their own tapestry, and with the right fabric art tutorials, you’ll be well on your way to creating a masterpiece. When it comes to textile crafts, the type of stitch used can make all the difference in the overall appearance of the tapestry.
Some common stitches used in medieval-style tapestries include the running stitch and the backstitch. The running stitch is a simple stitch that involves sewing in a straight line, while the backstitch is a bit more complex and involves sewing in a reverse direction. With practice and patience, you can master these stitches and create a beautiful tapestry.
For those new to fabric art tutorials and textile crafts, it’s essential to start with the basics and work your way up. You can find many online resources and tutorials that can help you learn the different stitches and techniques used in medieval-style tapestries. With the right guidance and materials, you can create a stunning tapestry that will be the envy of all your friends and family.
Remember, the key to creating a beautiful medieval-style tapestry is to take your time and practice regularly. Don’t be discouraged if your stitches are not perfect at first – with time and patience, you’ll get the hang of it. And most importantly, have fun and enjoy the process of creating something beautiful with your own hands.
Planning Your Tapestry Design
When it comes to creating a medieval tapestry, the design process is just as important as the actual weaving. We like to think of it as a creative tapestry idea that comes to life. To start, consider the theme or story you want to tell through your tapestry. Medieval tapestries often depicted scenes of battles, hunts, or mythological creatures, so you may want to draw inspiration from these medieval tapestry diy examples.
A good place to begin is by sketching out your design on paper. Consider the size and scale of your tapestry, as well as the materials and techniques you will use to create it. You may also want to experiment with different colors and patterns to find the perfect combination for your design. Remember, the key to a great tapestry is to have fun and be creative with your creative tapestry ideas.
Here are a few tips to keep in mind when planning your tapestry design:
- Consider the balance and proportion of your design
- Think about the colors and textures you will use
- Don’t be afraid to experiment and try new things

By following these tips and letting your imagination run wild, you can create a unique and beautiful medieval tapestry diy that reflects your personality and style. So why not get started today and see where your creative tapestry ideas take you?
DIY Medieval Tapestries: Step-by-Step Creation Guide
Creating your own diy medieval tapestries can be a fun and rewarding experience. To get started, you’ll need to measure and cut your fabric, then weave your tapestry using a combination of yarns and threads. We recommend using a mix of wool, silk, and cotton to give your tapestry a unique texture and appearance.
When it comes to fabric wall hangings, it’s all about the details. You can use a variety of techniques, such as embroidery or appliqué, to add decorative elements to your tapestry. You can also experiment with different yarns and threads to create a unique and personalized design.
Here are some steps to follow when creating your own diy medieval tapestries:
- Measure and cut your fabric to the desired size
- Choose a combination of yarns and threads to use for your tapestry
- Weave your tapestry using a simple or complex design
- Add decorative elements, such as embroidery or appliqué
With these steps and a little practice, you can create your own beautiful diy medieval tapestries and fabric wall hangings to decorate your home. Remember to have fun and be creative with your design!

Advanced Techniques and Embellishments
We’re excited to share some advanced techniques and embellishments that can take your medieval tapestry to the next level. When it comes to creating stunning handwoven wall decor, the right combination of materials and techniques is essential. Textile crafts offer a wide range of possibilities, from intricate embroidery to bold, colorful patterns.
Some of the techniques we’ll explore include felting, appliqué, and beading. These methods can add texture, depth, and visual interest to your tapestry, making it a truly unique piece of art. For example, felting can be used to create intricate, three-dimensional designs, while appliqué can add bold, colorful patterns to your tapestry.
Here are some tips for incorporating these techniques into your textile crafts:
- Use a combination of medium to heavy weight fabrics to create stability and longevity in your artwork.
- Experiment with different fabric manipulation techniques, such as smocking, shirring, and ruching, to enhance the dimensionality of your tapestry.
- Add beading or other embellishments to create texture and visual interest.
By incorporating these advanced techniques and embellishments into your medieval tapestry, you can create a truly stunning piece of handwoven wall decor that showcases your skills and creativity in textile crafts.
Adding Borders and Finishing Touches
When it comes to adding borders and finishing touches to your medieval tapestry, there are several options to consider. We can use a variety of techniques, including hand-stitching or machine stitching, to create a unique and personalized border. For those looking for a more DIY approach, there are many fabric art tutorials available online that can provide guidance on how to add borders and finishing touches to your medieval tapestry.
A medieval tapestry diy project can be a fun and rewarding experience, and with the right tools and techniques, you can create a beautiful and unique piece of art. To get started, you can visit this website for tips and inspiration on how to frame your tapestry. Some popular border options include:
- Simple hemming
- Decorative stitching
- Adding a fringe or tassel
By following these tips and techniques, you can add a professional finish to your medieval tapestry and create a beautiful piece of art that will last for years to come.
Proper Care and Maintenance of Your Tapestry
To keep your fabric wall hangings looking their best, it’s essential to follow proper care and maintenance techniques. This includes cleaning, storing, and handling your tapestry with care.
When it comes to cleaning, it’s crucial to use gentle methods to avoid damaging the fabric or threads. For handwoven wall decor, a soft brush or a lint roller can be used to remove dust and debris.
In addition to cleaning, storing your tapestry properly is also important. This can be done by rolling it up and placing it in a cool, dry area, away from direct sunlight. It’s also a good idea to use acid-free tissue paper or cloth to separate the tapestry from other materials.
By following these care and maintenance tips, you can help extend the life of your fabric wall hangings and keep them looking their best for years to come. Whether you have a handwoven wall decor piece or a more modern tapestry, proper care is essential to preserving its beauty and longevity.
Transform Your Space with Your Medieval Masterpiece
Now that you’ve crafted your stunning medieval-inspired tapestry, it’s time to showcase your creative masterpiece. Tapestries have been used for centuries to add warmth, texture, and a touch of timeless elegance to any space. Whether you choose to hang your tapestry on the wall or incorporate it into your furnishings, the possibilities for transforming your home are endless.
For a classic tapestry display, consider framing your piece with a simple yet elegant wood or metal frame. This not only protects your tapestry but also helps it blend seamlessly into your decor. Alternatively, you can create a focal point by hanging your tapestry without a frame, allowing the intricate stitching and vibrant colors to take center stage.
If you’re feeling adventurous, try incorporating your medieval tapestry into your furniture or soft furnishings. Use it as a stunning throw blanket, a decorative pillow cover, or even a stunning table runner to add a touch of medieval flair to your living space. The versatility of these handcrafted DIY tapestries means you can easily adapt them to suit your unique style and preferences.