
Your cart is currently empty!
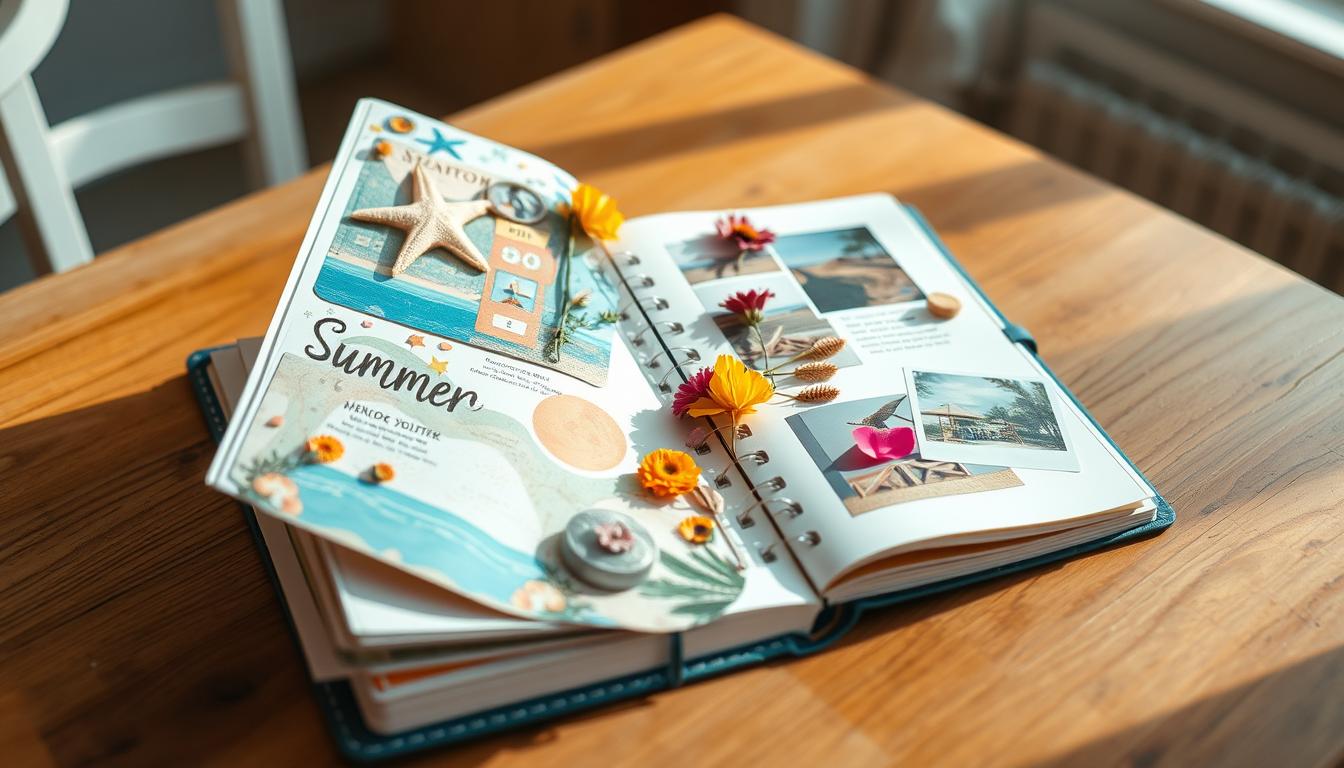
How to Create a DIY Summer Memory Journal: A Step-by-Step Guide
•
Why Create a Summer Memory Journal?
Summer memories fade quickly once the season ends. A dedicated journal serves as both a creative outlet during summer days and a treasured keepsake that brings those sunny moments back to life during colder months. Unlike digital photos that often remain buried in our phones, a physical journal engages multiple senses and creates a more meaningful connection to our experiences.
The process of creating and filling your journal can also be therapeutic. Taking time to reflect on special moments helps us appreciate them more deeply. For families, it becomes a wonderful bonding activity that encourages children to express themselves creatively while developing writing and artistic skills.
Ready to preserve your summer memories?
Gather your supplies and follow our simple guide to create a beautiful keepsake that will last for years to come.
Essential Materials for Your DIY Summer Memory Journal
Before diving into the creative process, gather these supplies to ensure you have everything needed to craft a beautiful memory journal. Quality materials will help your journal withstand time and handling while looking its best.

Basic Supplies
- Blank Journal or Scrapbook – Choose an acid-free scrapbook with sturdy pages that can hold photos and embellishments.
- Cardstock – Heavy-weight cardstock in summer colors provides perfect backgrounds for photos and writing.
- Adhesives – Double-sided tape, staples and acid-free glue secure items without damaging photos.
- Writing Tools – Colorful pens and fine-tip markers for journaling and decorating.
Decorative Elements
- Washi Tape – Summer-themed washi tape adds color and secures photos and mementos.
- Photo Corners – Self-adhesive photo corners allow you to remove photos without damage.
- Decorative Scissors – Patterned scissors create interesting borders for photos and paper.
- Embellishments – Summer-themed stickers and small decorative elements add personality.
Pro Tip: Look for acid-free and archival quality materials to ensure your journal and its contents won’t yellow or deteriorate over time. This small investment makes a big difference in preserving your memories!
Step-by-Step Instructions: Creating Your Summer Memory Journal

1. Preparing Your Journal
Before adding memories, take time to prepare your journal. This foundation work ensures your finished product will be both beautiful and durable.
- Choose a theme that reflects your summer experiences (beach days, road trips, backyard adventures).
- Create a title page with your journal name, the year, and perhaps a favorite summer photo.
- Consider dividing your journal into sections by month, location, or activity type.
- Number your pages if they aren’t already numbered to help with organization.

2. Decorating Your Pages
The beauty of a DIY journal is that each page can be unique. Let your creativity guide you as you design backgrounds that complement your summer stories.
- Use cardstock or decorative paper as page backgrounds.
- Create borders with washi tape in complementary colors.
- Add watercolor washes for beach or sunset-themed pages.
- Consider leaving space for journaling beside photo areas.

3. Adding Photos and Mementos
Photos bring your journal to life, while physical mementos add texture and dimension that digital scrapbooks simply can’t match.
- Print photos in sizes that fit your journal layout (4×6, 3×3, wallet size).
- Secure photos with photo corners or adhesive that won’t damage them.
- Create pockets from cardstock to hold ticket stubs, maps, or brochures.
- Consider adding pressed flowers, small shells, or other flat natural items.
Need photo printing?
Print your summer photos in various sizes with this affordable home photo printer.

4. Writing Your Reflections
The written component of your journal transforms it from a photo album into a true memory keeper. Your future self will thank you for capturing not just images, but thoughts and feelings.
- Date each entry to create a timeline of your summer.
- Include specific details that photos might not capture (sounds, smells, conversations).
- Write about your feelings and reflections, not just activities.
- Consider using prompts like “Best moment today was…” or “I never want to forget…”

5. Creating Special Elements
Take your journal to the next level with these creative additions that make it uniquely yours.
Sand Pocket
Create a small envelope from clear plastic and washi tape. Fill with a pinch of sand from your beach visits and secure it to your page. Label with the beach name and date.
Pressed Flowers
Flowers from a garden visit or hiking trail can be pressed between book pages, then carefully attached to your journal with a tiny dot of glue.
Fold-Out Maps
Attach a folded map of places you visited, marking special locations with small stickers or hand-drawn stars.
QR Code Links
Generate QR codes that link to your digital videos or photo albums, then print and paste them into your journal for a multimedia experience.

Personalization Tips: Making Your Journal Uniquely Yours

Theme Ideas for Your Journal
Beach Days
Use blue color schemes, sand textures, and shell embellishments. Include tide pool discoveries, sandcastle photos, and sunset reflections.
Road Trips
Incorporate maps, license plate rubbings, and postcards. Document quirky roadside attractions and unexpected discoveries along the way.
Backyard Adventures
Focus on garden growth, wildlife visitors, and stargazing nights. Add pressed leaves, flower petals, and constellation drawings.
Handwriting vs. Digital Elements
While handwriting adds personal charm to your journal, you can incorporate digital elements for variety and convenience.
Handwritten Elements
- Personal reflections and stories
- Quotes that captured your mood
- Hand-drawn sketches of memorable scenes
- Lettering for section titles and dates
Digital Elements
- Printed journaling prompts
- Typography for quotes or poems
- Printed maps with highlighted routes
- QR codes linking to videos or playlists
“The best journals balance structure with spontaneity. Create a framework that guides your documentation, but leave room for unexpected moments and creative inspiration.”
Preserving Your Summer Memory Journal

After investing time and creativity into your journal, take steps to ensure it remains in excellent condition for years to come.
Protection from Environmental Damage
- Avoid direct sunlight which can fade photos and writing.
- Store in a cool, dry place away from humidity that can cause warping.
- Use archival spray on non-paper items to prevent deterioration.
- Consider an acid-free storage box for long-term preservation.
Handling and Sharing
- Wash hands before handling to prevent oil transfer.
- Support the spine when opening to prevent binding damage.
- Consider digitizing special pages for easy sharing.
- Create a digital backup by scanning completed pages.
Preservation Tip: Place silica gel packets near your stored journal to absorb excess moisture. Replace these every few months to maintain their effectiveness.
Start Your Summer Memory Journal Today

Summer days are fleeting, but the memories you create can last a lifetime when captured in your personalized journal. The simple act of documenting your experiences not only preserves them but enhances your appreciation of the present moment.
Don’t wait until summer ends to begin your memory journal. Start today while your experiences are fresh and vibrant. Your future self will thank you for this treasure trove of summer memories that you can revisit whenever you need a dose of sunshine and joy.
Ready to preserve your summer memories?
Gather your supplies and start creating your DIY summer memory journal today!
“We don’t remember days, we remember moments. Capture them while they’re happening, and they’ll stay with you forever.”
When you complete your summer memory journal, we’d love to see your creation! Share photos of your journal on social media with the hashtag #SummerMemoryJournal and tag us to be featured in our community gallery.
Frequently Asked Questions
How much time should I spend on my journal each day?
Even 5-10 minutes daily can be enough to jot down highlights and attach a photo or memento. Set aside longer sessions weekly for more detailed entries and creative decorating. Consistency matters more than duration.
What if I’m not artistic or creative?
Your journal doesn’t need to be a masterpiece! Focus on preserving memories rather than creating perfect pages. Use pre-made stickers, washi tape, and simple layouts. The authenticity of your journal matters more than artistic perfection.
Can children create their own summer memory journals?
Absolutely! Simplify the process for younger children with pre-cut papers, washable glue sticks, and stickers. Older children can handle more complex techniques. Journaling helps develop writing skills and encourages reflection at any age.
What if I miss documenting some days?
That’s completely normal! You can create summary pages for periods you missed, or simply continue where you left off. Your journal doesn’t need to document every single day to be meaningful and valuable.
Just a heads-up: This post contains Amazon affiliate links, which means I may earn a small commission (at no extra cost to you) if you choose to make a purchase through them. Every little bit helps support this blog and the work I share here—so thank you for being part of The Good Life Chronicles community. I’m truly grateful!